How to get started with Apple Music on Android #Google #Android #News #Smartphone #APK
Are you ready to cross the Android and Apple streams? Let's get the music started.
Apple doesn't often offer its services on Android, but for Apple Music, they make an exception. After all, it's hard to be a music service without being available on the most widely-used mobile platform in the world. Whether you're an Apple fan who stepped away from the iPhone or an Android enthusiast who wants to see if Apple Music can compete, Apple Music for Android is here and relatively easy to set up.
Before we get started
There are a few things to remember when getting started with Apple Music. First and foremost, there is no free tier of Apple Music. Unlike Google Play Music and Spotify, Apple Music has only paid tiers: Student at $4.99/month, Individual at $9.99/month, and Family at $14.99/month for up to 6 people. If you want to test out Apple Music, you can sign up for a 3-month trial, but you have to give your payment information up front and you will be charged if you don't cancel before that trial expires.
It is also worth noting before you decide to take the plunge on an Apple Music trial that Apple Music does not have a web client, so in order to listen to it on a computer, you will have to download iTunes. On a Chromebook, you will have to download the Apple Music app, provided your Chromebook is Google Play equipped. Apple Music is also incompatible with Google Cast and Google Assistant. This means you cannot listen to Apple Music on a Google Home or Google Chromecast without mirroring your phone's screen/audio. If you primarily use Apple devices like a MacBook or a HomePod, then you have no worries here.
Sign up
Once you've downloaded the Apple Music Android app, it's time to sign up and get your music on.
- Open Apple Music.
- Tap Try it free.
- Select the plan that's right for you.
-
Tap Start Trial.
- If you already have an Apple account, tap Use Existing Apple ID and skip to step 10.
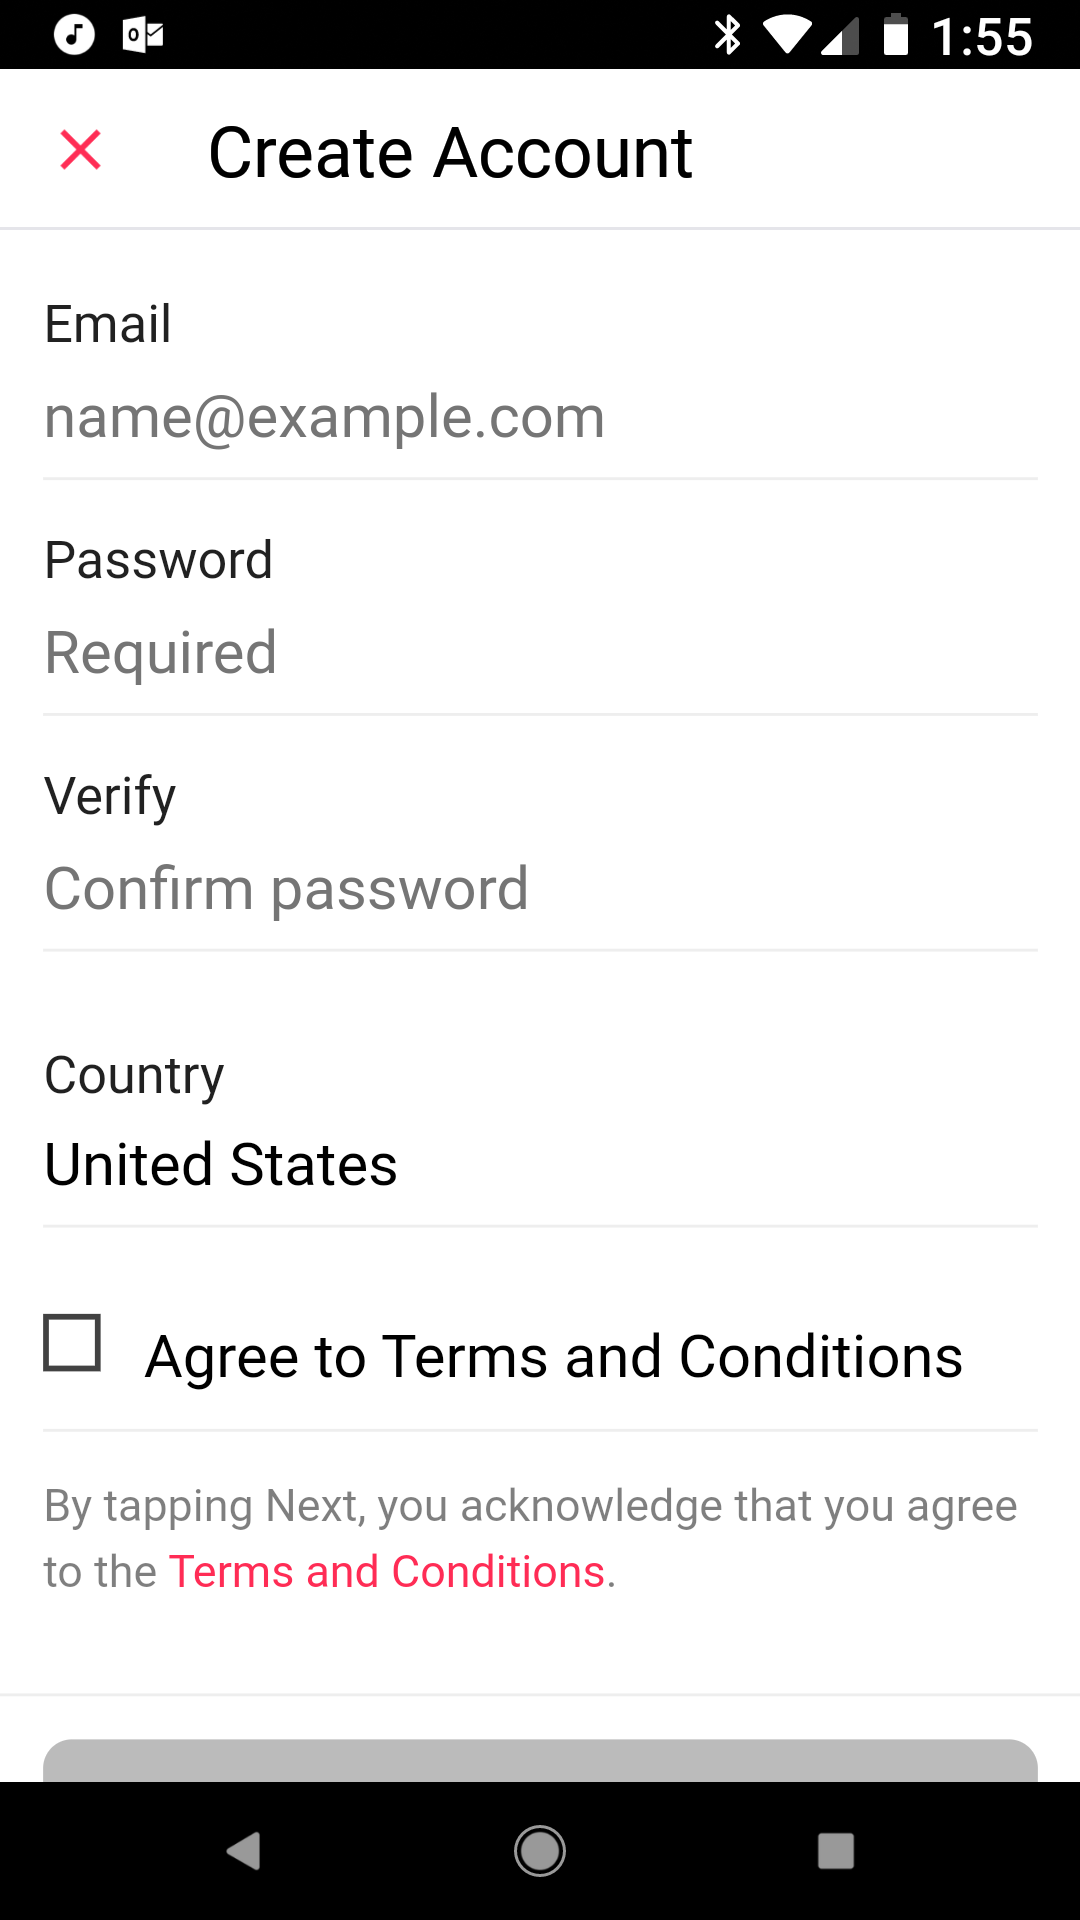
- If you do not already have an Apple account, tap Create New Apple ID.
- Enter the email and password for your new Apple ID.
- Tap Agree to the Terms and Conditions.
-
Tap Next.
- Enter your Apple ID and password.
- Tap Sign In.
- Tap Continue to verify your payment info.
-
Choose your Payment method, PayPal or Credit/Debit Card.
a. If you select PayPal, tap Log In To PayPal.
b. Agree to the subscription.
c. If you select Credit/Debit, input your card information and billing address.
d. Tap Done.
- Agree to the terms of the subscription.
- Tap the Genres you like.
- Press and hold the Genres you don't like until they disappear.
-
Tap Next.
- Tap the Artists you would like to follow.
- Tap Next.
-
Decide if you want to Send to Apple your crash reports and diagnostics or Don't Send.
You are now free to go about your music. You can see if any of your friends are on Apple Music by giving them access to your contacts, or you can start searching for music to listen to right off the bat.
A helpful feature if you were an iTunes user once upon a time is that Apple Music can sync many of your iTunes music purchases to your new Apple Music library. This includes a Purchased Music playlist in your library that features every song you bought in iTunes that's available in the Apple Music library. Even if you haven't touched iTunes in years, this can provide a nostalgic trip down memory lane.
Are you going to give it a try?
Apple Music and Spotify are two of the most popular streaming music services on earth, and they each have their advantages. With a three-month trial, though, it's worth seeing whether Apple Music is good enough for your money. And if not, there's always Google Play Music.
Spotify vs. Google Play Music: Which should you subscribe to?


