How to make your own personal VPN in under 30 minutes
VPNs, or Virtual Private Networks, are a popular way to stay safe online. When you connect to a VPN, all outgoing network traffic is funneled through an external server. Your internet service provider can't tell what sites you visit (only that you're using a VPN) or inject content into webpages. They're also commonly used to bypass blocked websites and to stay safe on public Wi-Fi networks.
Unfortunately, using certain VPN providers can be just as dangerous as going without a VPN in the first place. Many popular providers will log connection details of users, which can then be sold to third parties. Some insecure services also leak connection information, leaving you just as unprotected as you would be without a VPN.
Even though there are a few excellent VPN choices available on the market, hosting your own VPN server is another option. It takes a little bit of work to set up, and it's not the best option for everyone, but it has several benefits. For this guide, we'll be setting up an OpenVPN server on a Linode VPS, which costs $5/month. While you can absolutely run a PC at home with Ubuntu Server instead, I recommend using a VPS because you'll get the highest-possible speeds and almost no downtime. You also won't have to worry about hardware failures.
You might be wondering why a post like this is on Android Police. The explanation is pretty simple - our smartphones transmit a tremendous amount of personal data. While most of that is sent over encrypted channels (like HTTPS), most phones and tablets still auto-connect to potentially-insecure public Wi-Fi networks. Even if you stick to cellular data, you're still probably subject to data collection by your carrier.
This guide might look long, but it's because I try to fully explain every possible step so no one gets lost. You don't need any previous experience with Linux for this tutorial.
Should I host my own VPN?
There are advantages and disadvantages to making your own VPN server. Here are the main points to keep in mind when deciding what to do.
Advantages
- No one is logging or selling your data.
- It's usually cheaper or on-par with paying for a VPN subscription.
- You can use the server for other things, like hosting a website or Nextcloud installation.
- Websites that ban VPNs probably won't detect yours, because it won't be on an IP block list. This doesn't apply to Android apps, since they can detect when any kind of VPN/proxy is being used.
Disadvantages
- Anonymity isn't possible, since the VPS host will have your payment information.
- Your total bandwidth will be limited (Linode gives you 1TB/month).
- You won't get special features that some VPN services provide, like malware/tracker blocking.
- You can't switch between different countries/locations.
Step one: Setting up a Linode VPS
First we need to create a VPS, which is the Linux virtual machine that our VPN server will run on. There are multiple VPS providers, but I personally prefer Linode, so that's what we'll be using (note: this is not a sponsored/promotional post). I've also heard good things about DigitalOcean, but I don't have any personal experience with it.
First, go to Linode's website and create an account, if you don't have one already. You'll need to enter billing information. Once you make it to the dashboard, click on 'Add a Linode' (or click this link). This is where you'll pick what hardware your server will have, and where it will be hosted.

Scroll to the bottom of the page and select 'Linode 1024,' which costs $5/month (at the time of writing). VPNs don't need much processing power, so this low-spec VPS will do just fine. You can pick whichever location you'd like, but if you want the fastest-possible speeds, you should choose the city closest to you. It's possible to change the location later, but you'll have to contact Linode support.
Once you've picked the right tier and location, click 'Add this Linode.' You should now see the server on your dashboard. It might take a minute or two to finish being created. When it's done, the status will change to 'Brand New,' like in the below screenshot.
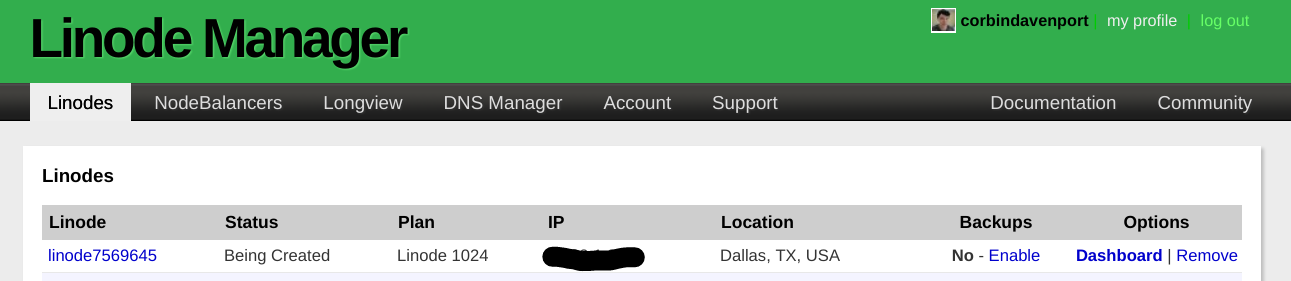
Now we need to install an operating system. Click the new Linode on the dashboard, and click 'Deploy an image' near the top. Select 'Ubuntu Server LTS' from the image dropdown menu (the version is 16.04 at the time of writing, but 18.04 is about to come out). Leave 'Deployment Disk Size' and 'Swap disk' at the default values, and enter a password you want to use in the 'Root password' box.
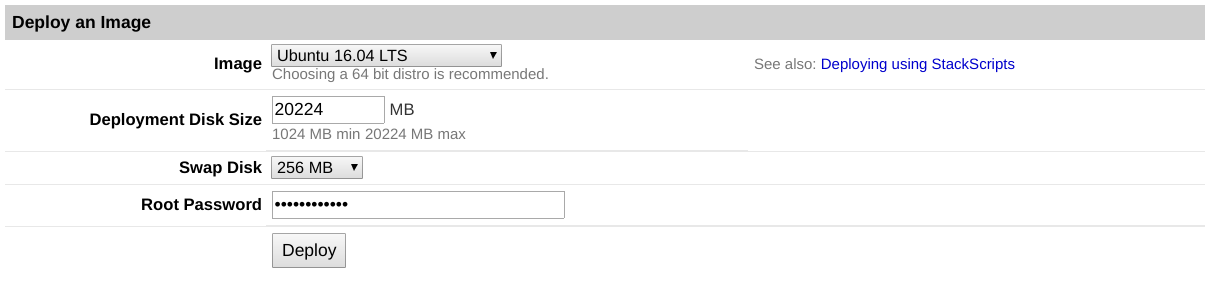
The root password is how you will connect to your VPS over SSH, so make sure you pick a unique and secure password!
Once you're done, it should look something like the above image. Click 'Deploy' and the OS installation will start - it should take less than a minute. When everything is done, everything in the 'Host Job Queue' box will say 'Success.' Finally, press the 'Boot' button to turn on the server.
Step two: Logging into the VPS
Ubuntu Server doesn't have a graphical user interface, like Windows or macOS. It only has a command-line interface, but don't be scared - all these steps are pretty easy to follow. If you've ever used the Terminal on macOS, Linux, or even Android, you'll feel right at home.
Once you click on the 'Remote access' tab on the dashboard, you'll see the command for logging into the server using SSH. You can put that into any SSH client and most Terminal emulators, but we'll be using the 'Lish' console for this guide, since it runs entirely in the browser. Scroll to the bottom of the page, and click the 'Launch Lish Console' link. You should see something like the below screenshot.

Once it asks you for the login, type "root" (without the quotes) and press Enter. Then enter the root password you set earlier, and press Enter again. After that, you should be logged in and greeted with a "Welcome to Ubuntu" message. If you've never used a Terminal on Linux/macOS before, you might find this list of common commands helpful. Now it's time to set up the VPN service!
Step three: Setting up the VPN
You might be thinking, "Oh geez, I gotta use commands, this is gonna be awful." Thankfully, this is actually the easiest step, since we'll be using the OpenVPN road warrior install script to get everything running. Run this command in the Lish console window (that -O in the middle is the letter O, not the number zero):
wget https://git.io/vpn -O openvpn-install.sh && bash openvpn-install.sh
The script will ask you for your IP address, what protocol to use, and other info. Just use the default/recommended options by pressing Enter on each question. When asked for the client name, put in your name. Then the script will install the required software and set everything up.
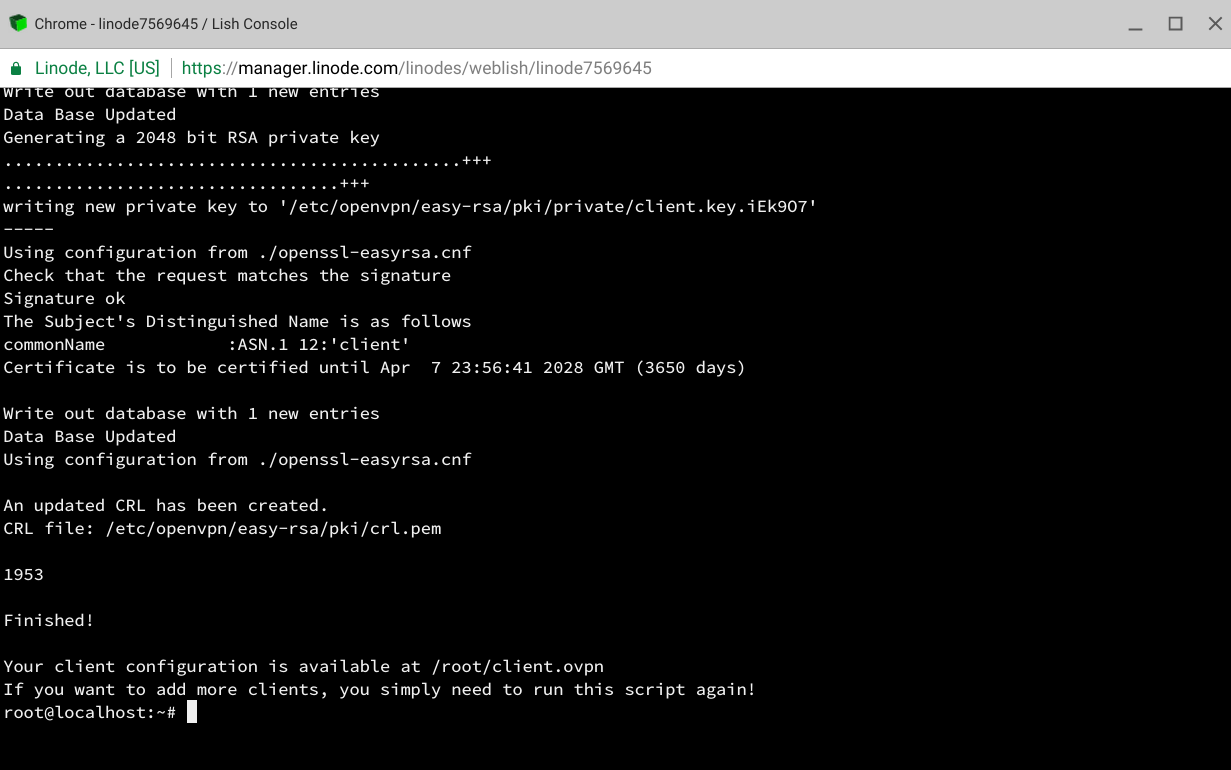
Once the script is done, it will export a .ovpn file in the /root/ folder. That file contains the connection and login info for your VPN, so we need to get that file off the server.
Step four: Downloading the OVPN file
To download the file, you need to install an app that supports SSH File Transfer Protocol. If you're on macOS or Linux, I recommend Cyberduck. For Android, or Chromebooks with the Play Store, you can use AndFTP. You only need to set this up on one device, since once you grab the OVPN file, you can copy it to other devices using whatever method you like (USB, cloud storage, etc).
Android/Chrome OS (AndFTP)
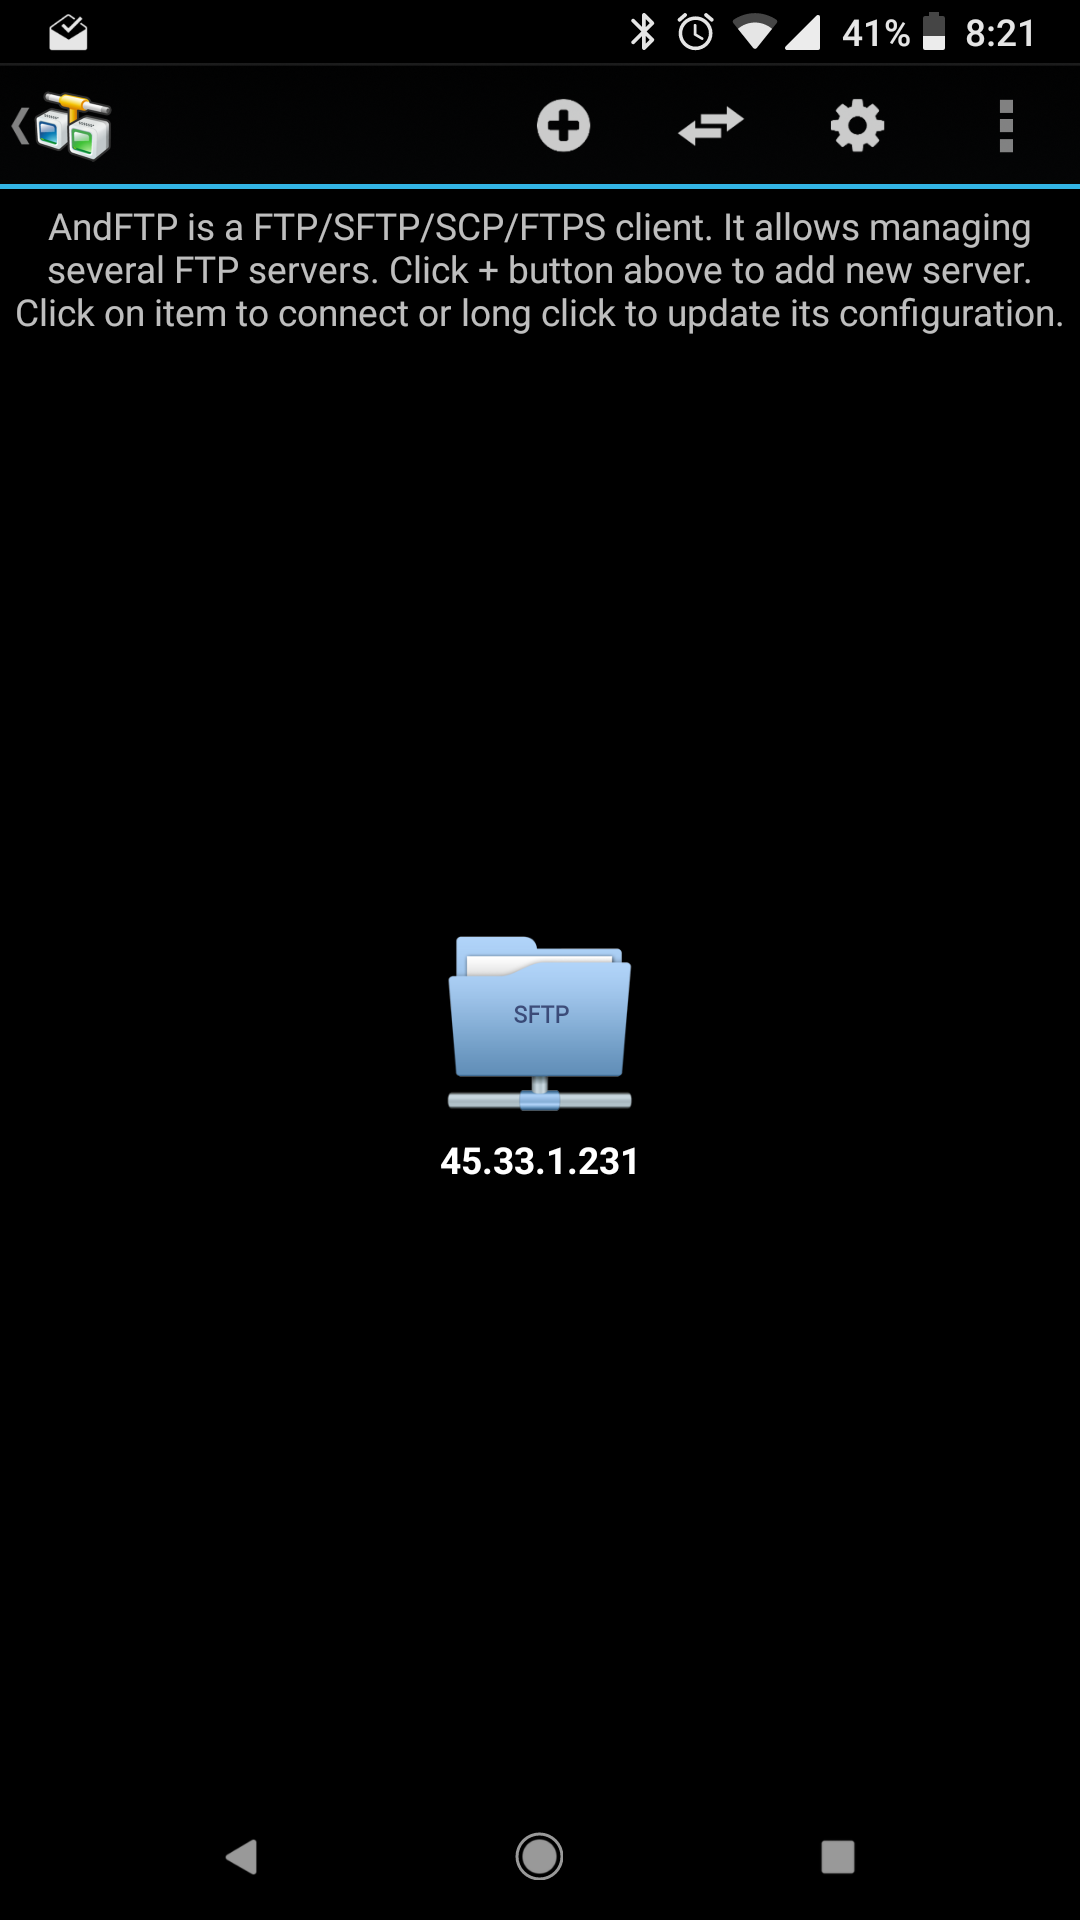
Once you install AndFTP on your device, tap the plus button at the top. Here's what you have to enter for each field:
- Hostname: Your server's IP address (this can be found on the 'Remote Access' tab in Linode, or by running "curl ipinfo.io/ip" on your server)
- Type: SFTP (SSH File Transfer Protocol)
- Port: 22
- Username: root
- Password: The root password you created earlier
- Remote dir: /root
Once you type all the above information, tap the Save button. This will add a folder for the server to the app's home screen. Once you tap it, you should see the /root folder on your server. Tap the .ovpn file and press the Download button at the top right.
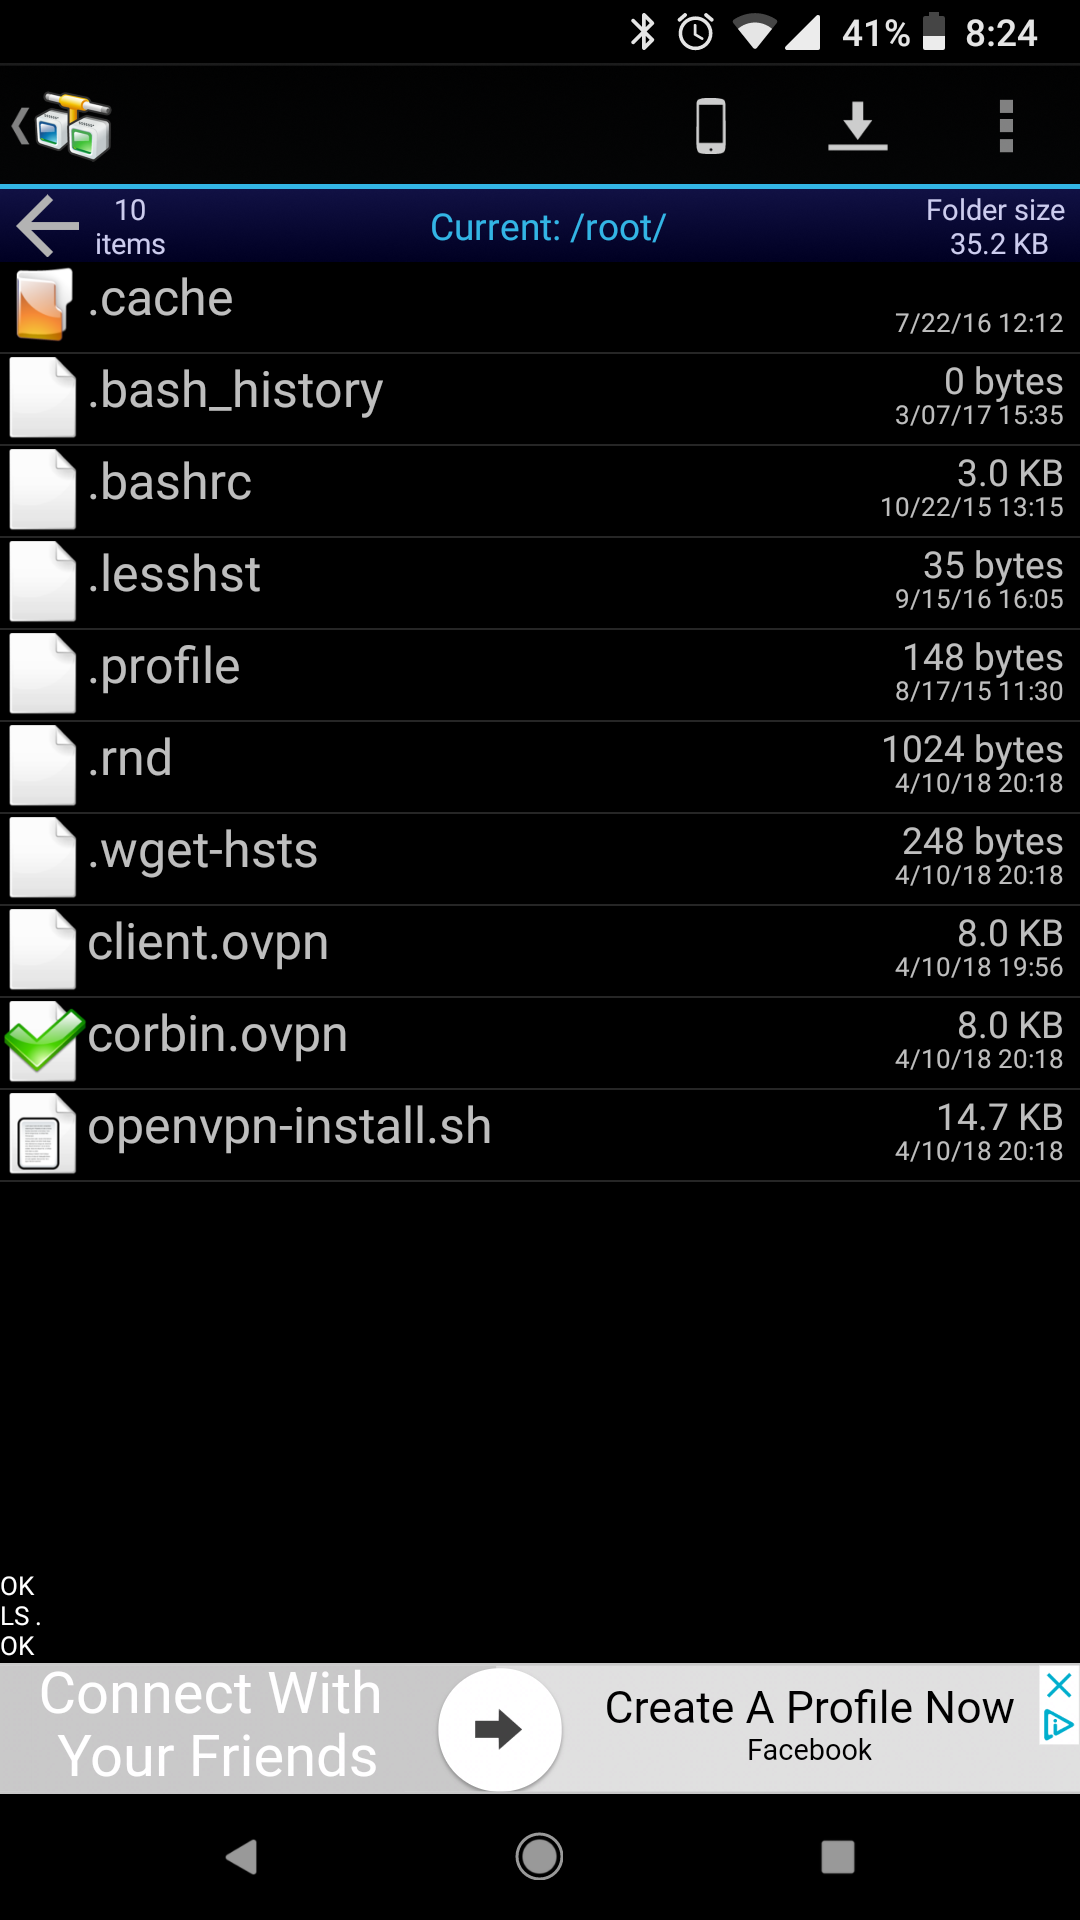

The file will then be saved to your device's Downloads folder!
Windows/Mac (Cyberduck)
For Windows or Mac, download Cyberduck from the official website and install it. Once you open the app, click the 'Open Connection' button at the top of the window. Select 'SFTP' on the top dropdown menu, and put this in:
- Server: Your server's IP address (this can be found on the 'Remote Access' tab in Linode, or by running "curl ipinfo.io/ip" on your server)
- Port: 22
- Username: root
- Password: The root password you created earlier
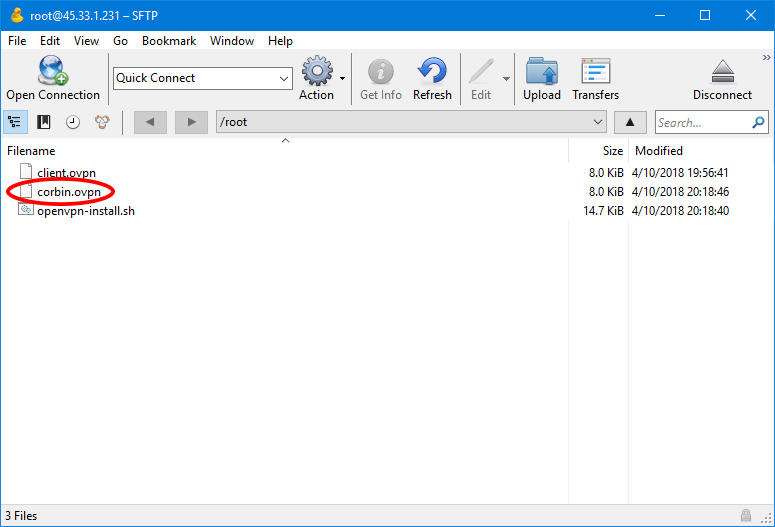
After entering the above info, click the Connect button. If you get a warning about an unknown fingerprint, click Allow. After it finishes connecting, you should see all the files in your /root folder, including the .ovpn file. Just drag the file to your desktop (or anywhere else on your computer) to download it.
Step five: Connecting to the VPN
You've set up your VPN and downloaded the connection file, so now you're ready to try it out. There are OpenVPN clients available for every major operating system. For this guide, we'll only go over how to connect using an Android device (or Chromebook with the Play Store). For Windows/Mac/iOS, VPNGate has an excellent guide here.
There are a few different OpenVPN clients for Android, but my favorite is 'OpenVPN for Android,' because it works well and is fully open-source. Once you download it from the Play Store, tap the import button in the top-right corner (it looks like a box). AndFTP places downloaded files in the root directory of your Android device (/sdcard, where the Alarms and Ringtones folder is). On Google devices, you have to open the side menu of the file manager and tap your device.


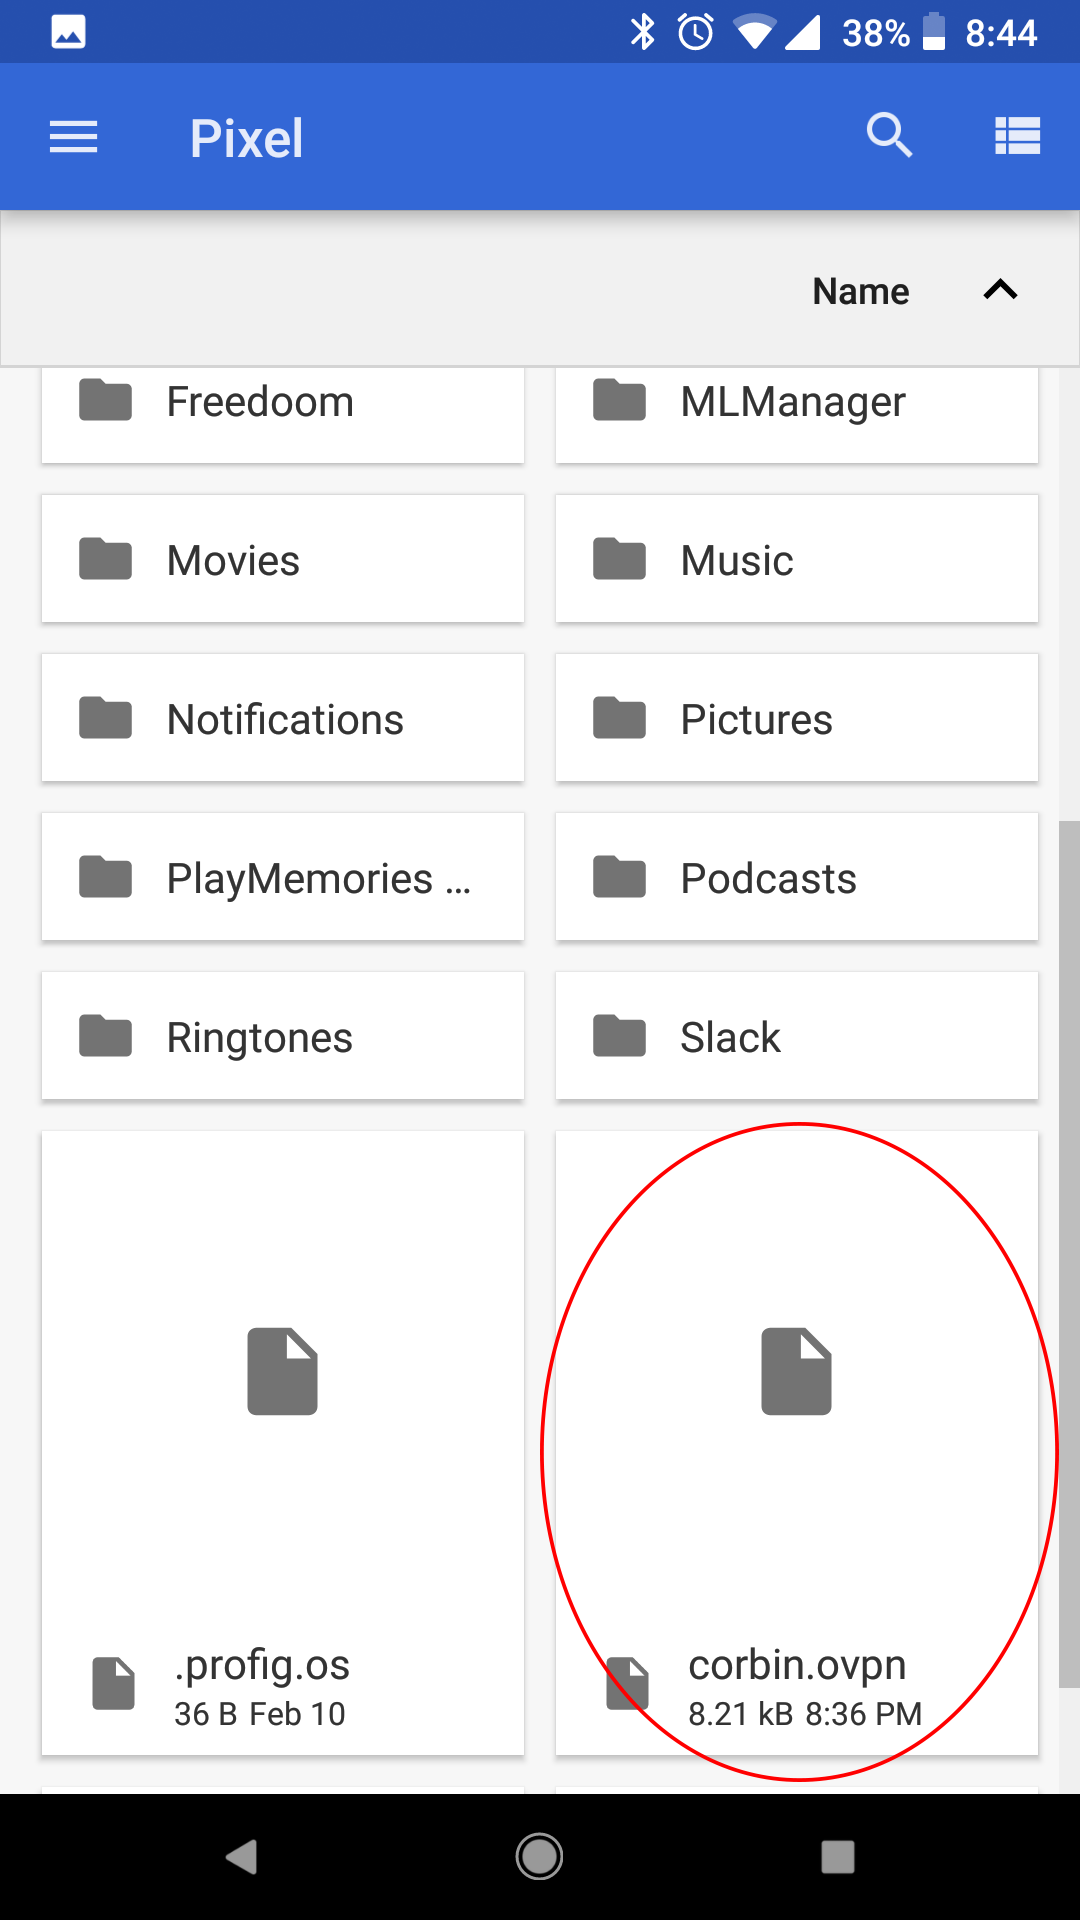
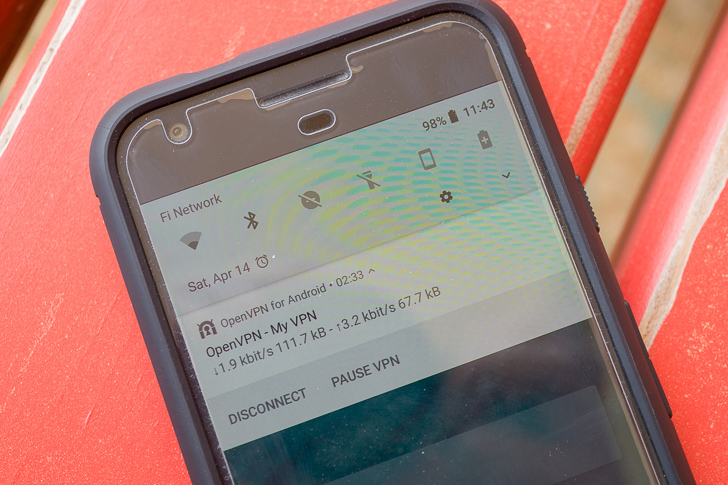
Once you find the .ovpn file and tap it, press the Save button in OpenVPN. A new connection option will be added to the main screen. Once you tap it, you will be connected to your VPN! Now that Chrome OS supports Android VPNs, this will also work for Chromebooks - you should see a lock icon next to the WiFi indicator.
Managing your VPN
Congratulations, you now have your own functional VPN server! For the most part, you don't have to do anything else, except install the OpenVPN client on whatever other devices you have. Even if your server is rebooted (when Linode performs maintenance, for example), the VPN will automatically restart.
That being said, there are a few things you can do after you're done, like adding/removing profiles and updating the server.
Add or remove profiles
You already have an OpenVPN profile for yourself (which is linked to the .ovpn file), but you can create more profiles to let other people access your VPN. You can also remove a profile later, if you want to revoke someone's access. Just run the VPN setup script again:
wget https://git.io/vpn -O openvpn-install.sh && bash openvpn-install.sh
You should see a series of options - just type the number for the one you want and press Enter. The script will then walk you through the action.
Installing updates
Every once in a while, you should login to your server to install the latest updates, so you have the latest security and bug fixes. You have to run two commands - apt-get update and apt-get upgrade. Run the first command to update the package lists:
apt-get update
Then run this to install package updates:
apt-get -y upgrade
That's it! You don't even have to reboot the server - Linux is cool like that.
Deleting your VPS
If you decide you don't want your own VPN anymore, you can easily delete the Linode VPS. Just go to the main Linode dashboard and click the Delete link next to the server you set up. Couldn't be easier.
#Google #Android #Smartphones #OS #News @ndrdnws #ndrdnws #AndroidNews


